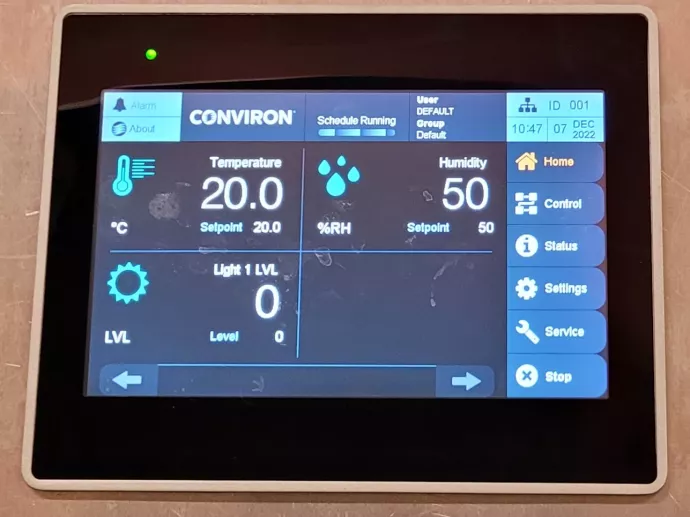
This protocol describes viewing, creating, and implementing a program and schedule for Conviron growth chambers with CMP6060 controllers. These are the following chambers:
- 1012-03ER, 1012-04ER, and 1012-05ER in DV1012
- 3092-01GC, 3092-02GC, 3092-03GC and 3092-04GC (Conviron E15) in DV3092D
- 3028-01ER (Conviron C1015), 3028-04ER and 3028-05ER in DV3028
- 3028-06GC, 3028-07GC, 3028-08GC and 3028-09GC in DV3028
View current setpoints and actual temperature, humidity, and light levels under Home.
View/edit/create environmental settings under Control where you will find “Schedule”, “Programs” or “Parameters” options. You will also need the username and password which you may obtain from Vera Velasco during your training. If this is your first time you're setting up the growth chamber according to your research requirements, please take time to review “Example” under “Programs”.
Protocol to create new environmental settings:
- Create a new program by going to Control > "Program" and clicking on the plus icon.
- Change the name of the program appropriately. Put your PIs initials (PI) followed by your initials (YI) at the beginning. For example, "PI-YI_Drought-Douglas-fir".
- Fill in each line of the program with Time, Temperature, Humidity, Light1 (fluorescent), and Light2 (incandescent) levels. Like in the “Example” program, you need to have Time as 00:00 for your first line and Time as 23:59 as your last line. Also, note that the temperature will ramp at a minimum of 5 minutes per Celcius if there are gaps in time. Below is an example of how to set temperature:
| Line | HH: MM | Temp °C |
| 1 | 00:00 | 16.0 |
| 2 | 08:00 | 20.0 |
| 3 | 08:01 | 23.0 |
| 4 | 16:00 | 23.0 |
| 5 | 23:59 | 16.0 |
Line 1 to 2: Temperature will ramp up from 16 to 20 °C from 00:00 to 08:00
Line 2 to 3: Temperature will jump from 20 to 23 °C as fast as possible
Line 3 to 4: Temperature will remain at 23 °C from 8:01 to 16:00
Line 5 to 5: Temperature will ramp down from 23 to 16 °C from 16:00 to 23:59
- When you are happy with the entries on your program. Click “Back” and save.
- Go back to “Schedule” and click on “Stop” to disable running the program.
- Select the yellow minus icon to remove the current schedule. Then select the blue plus icon to create a new schedule. Choose the new program you’ve created.
- You may click on “REPEAT” to dictate the number of days you want the program to repeat or simply choose ∞ to continuously loop the program. Save and exit the Schedule editor.
- Select “Start” to start the schedule.
Please refer to the manual for more information on how to operate CMP 6060.
By Vera Velasco, 2021-05-03
